Congratulations, you’ve made it to the third post in this series on getting started with DevOps in a Xamarin project. Last time we created a Continuous Integration pipeline for Android so this time it’s iOS’ turn! A lot of things will look familiar if you followed along with the previous post but for the sake of completeness I will include it here.
Other articles in this series
Make sure to check out some of the other articles in this series!
- The build agent
- Setting up your Android CI
- Setting up your iOS CI (this post)
How to set up the Xamarin iOS build
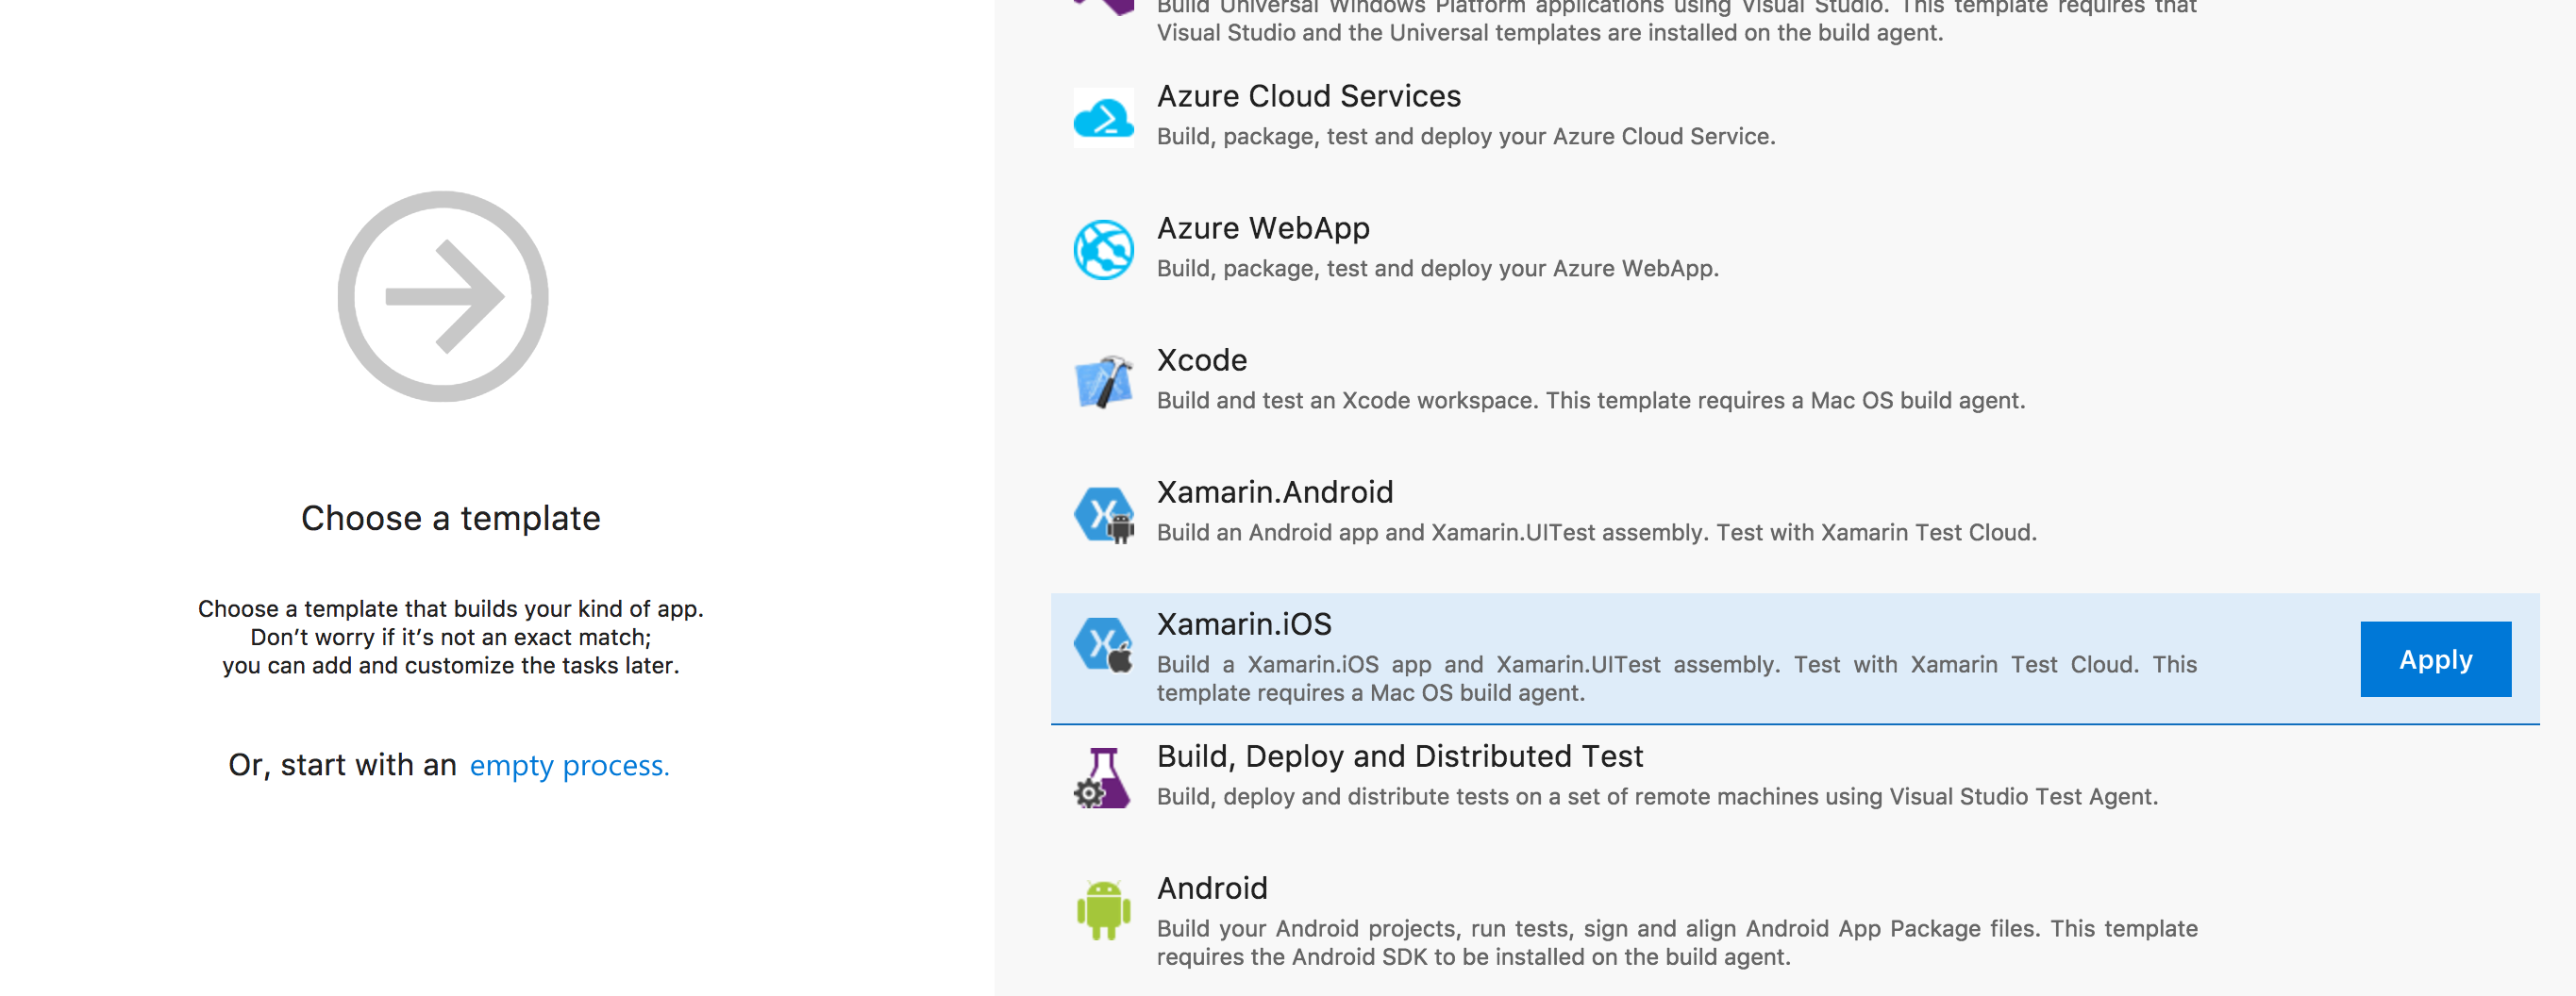
To set up our Xamarin iOS build we use the available template in VSTS because it contains all the necessary build steps to create an IPA file which is Apple’s equivalent of the APK file in Android. Time to use that template and create our build definition!
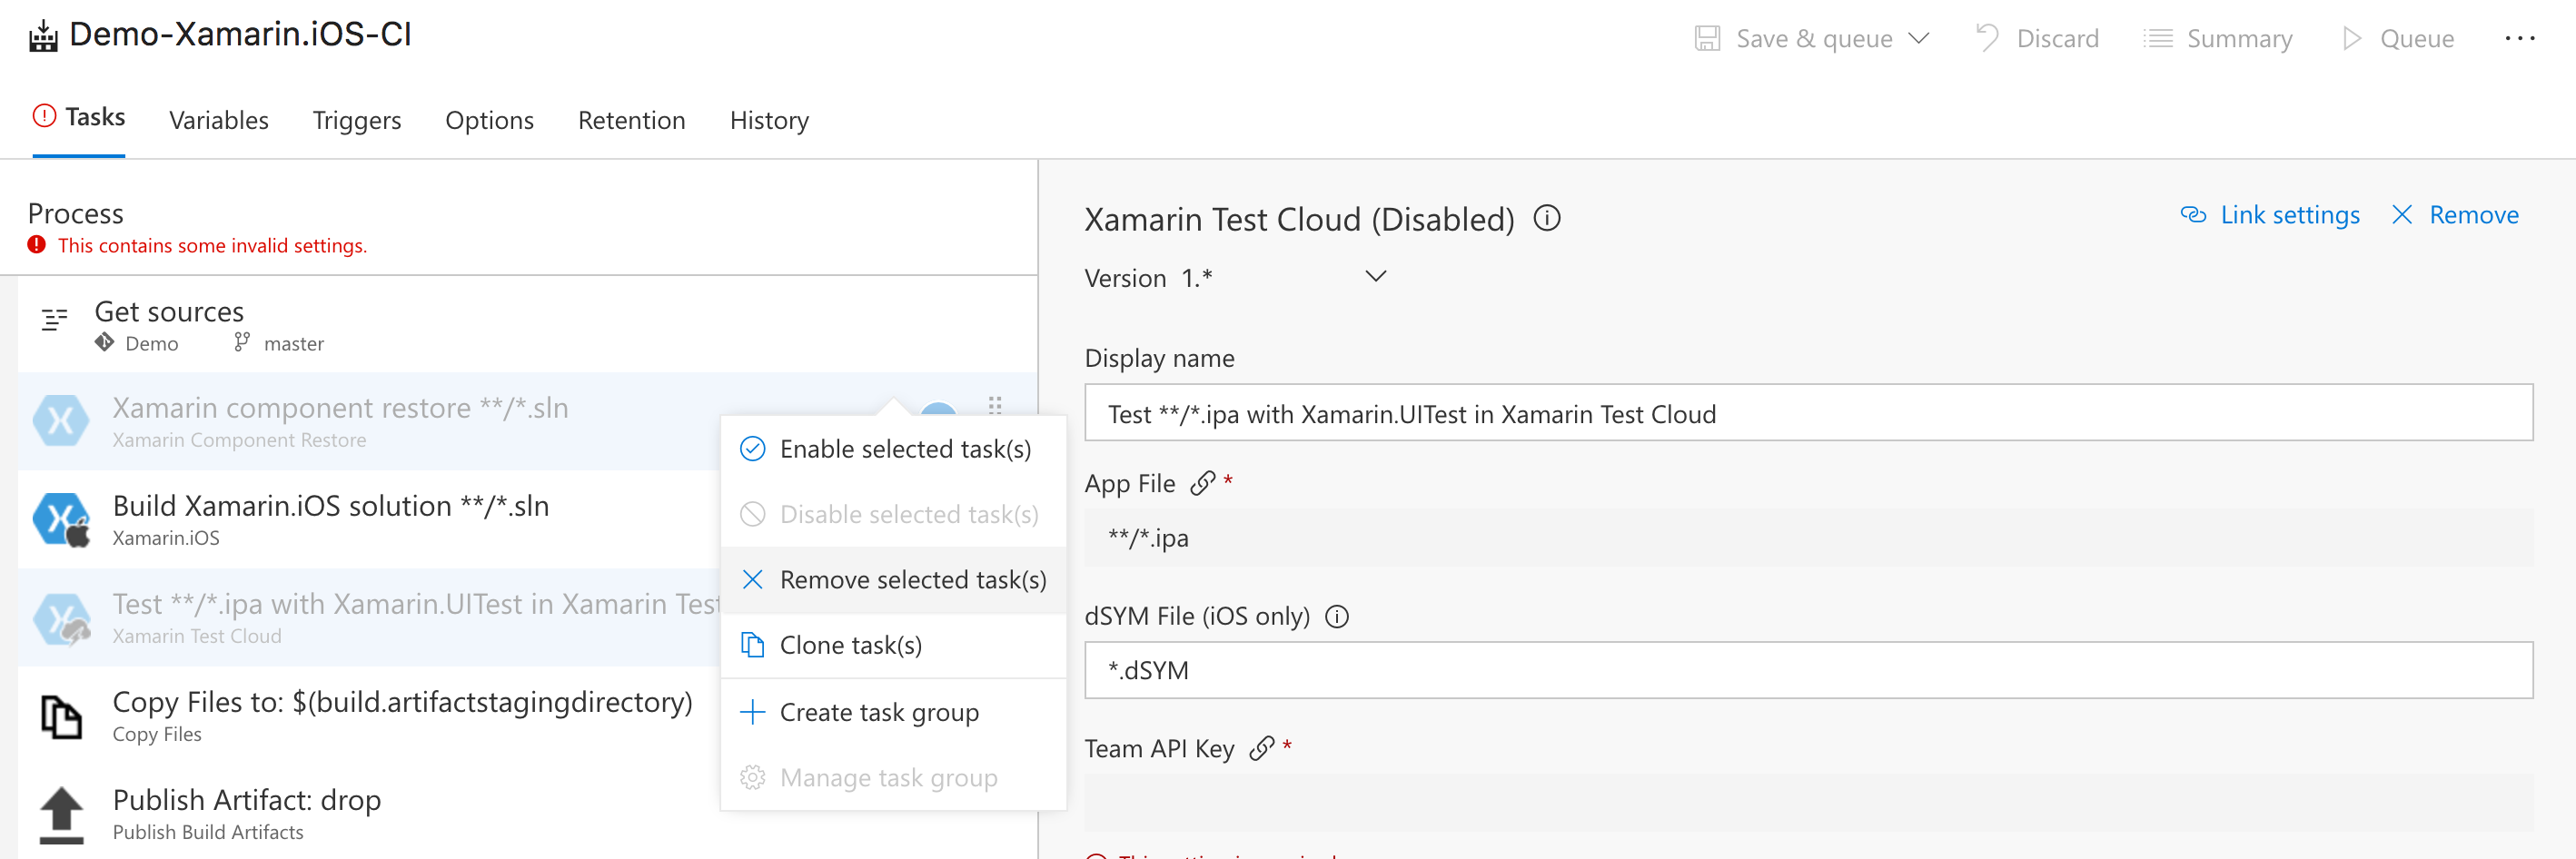
The tasks displayed below will be the ones you’ll end up with and once again some of them are greyed out (disabled). Leave them in or remove them by right clicking and selecting Remove Selected Task(s).
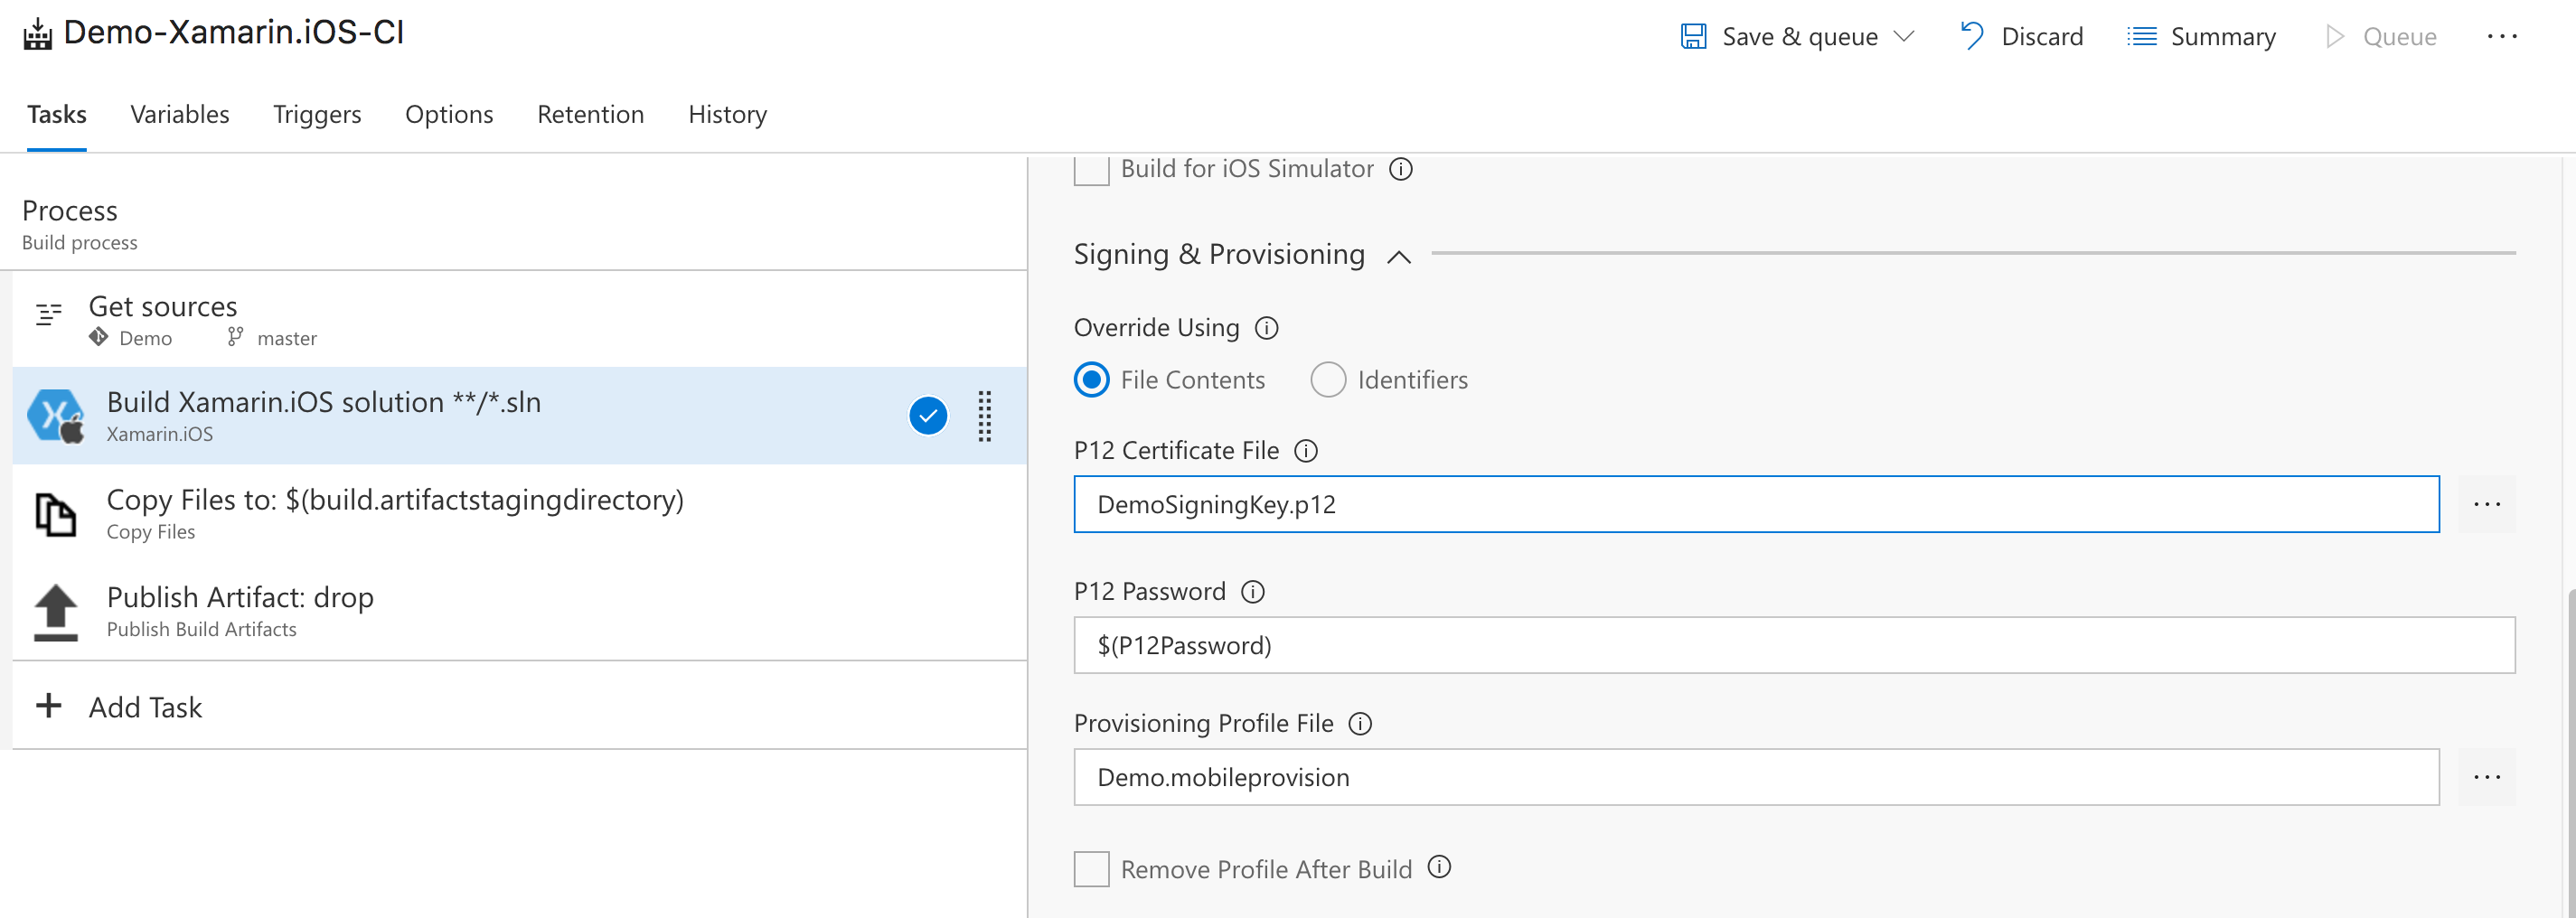
Select the Build Xamarin.iOS solution step and scroll down to the Signing & Provisioning section on the right side. This is where you put your P12 signing key, the password of your signing key and a provisioning profile containing e.g. your test devices. Don’t know where to get these? Xamarin has a tutorial on this! After selecting your key and profile you can put in a variable for the password. Since we don’t want to have that in our build definition in plain text we put in $(P12Password) and set this at a later point.
Oddly enough, at the time of this writing the Xamarin.iOS template has no NuGet Restore step in its process so we can add that and put that before the Build task. Another step we need is a cleanup step to ensure that we always have the correct version of our IPA on our build server. To do so we add a Delete files task to cleanup the previous IPA files before our build.
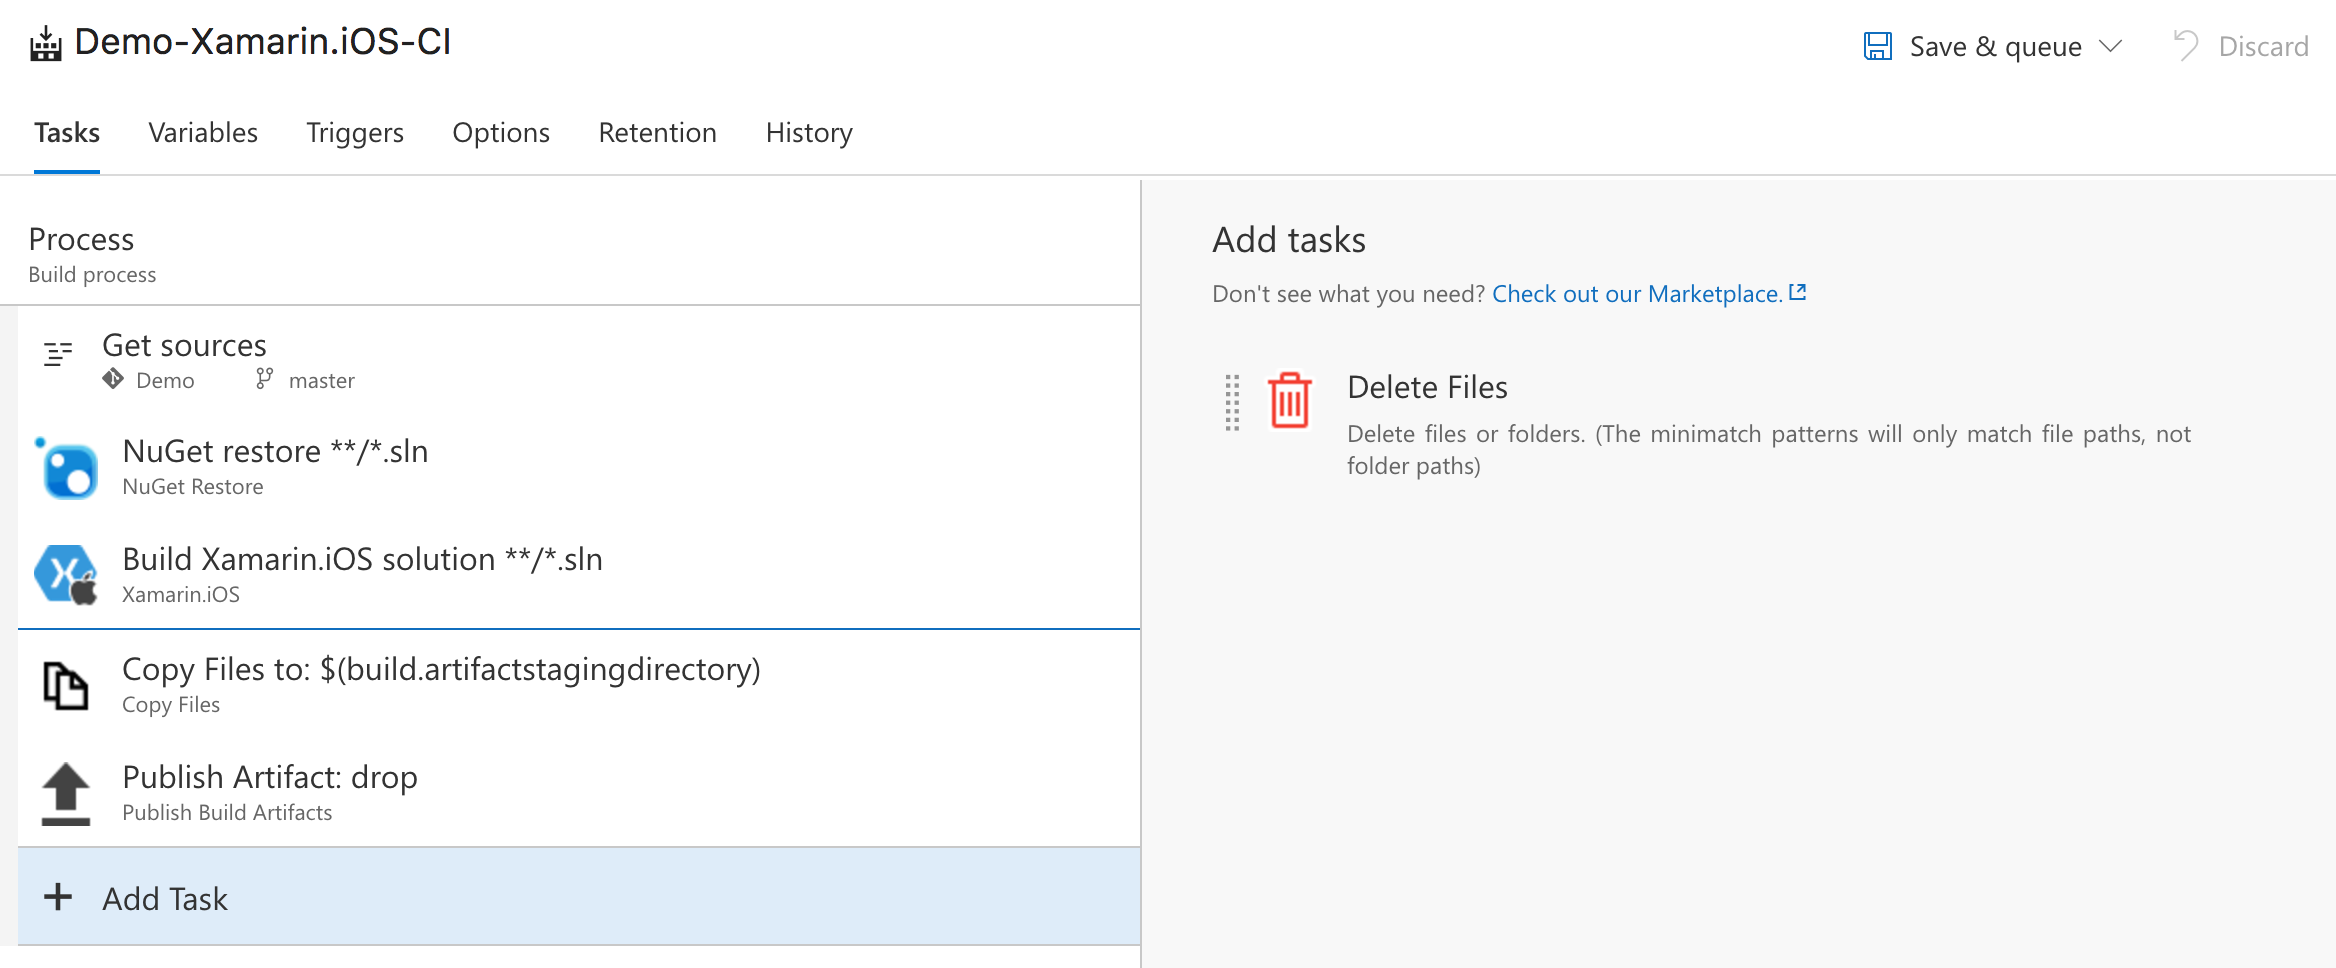
In the configuration for this task we need to set the Source Folder to our iOS projects root. We need to make sure that any previous IPA or dSYM files are removed before our build starts and we can do this by putting /.ipa and *****/.dSYM* into the Contents field.
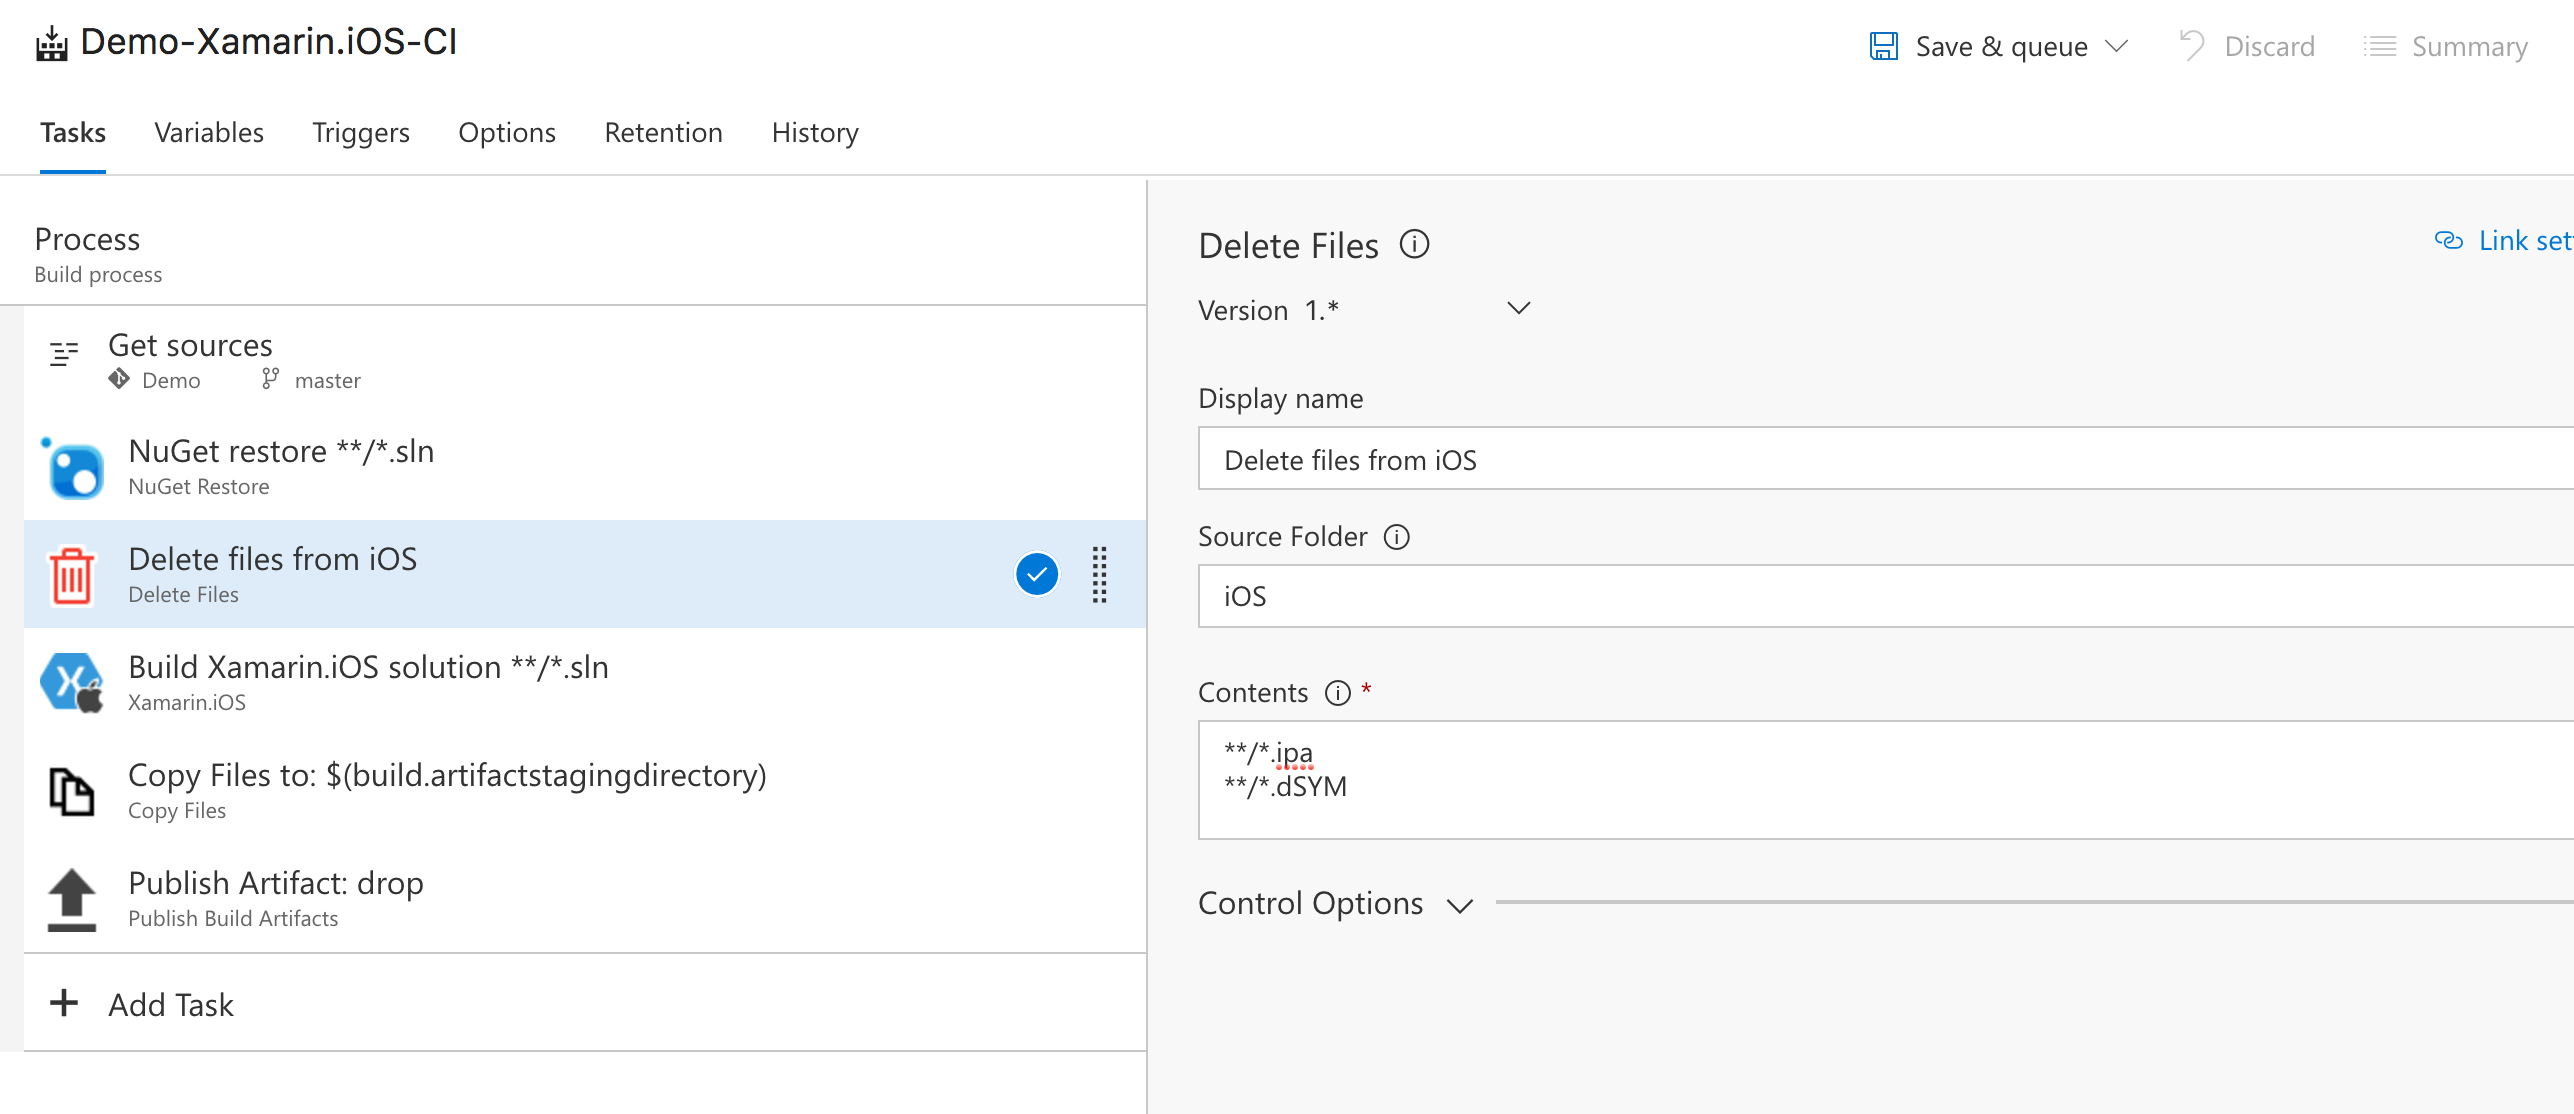
Adding a variable and finishing the configuration
We added a variable in the Build step of our definition and still need to define it. Switch to the Variable tab and add a variable named P12Password. Click the lock icon to ensure that it’s a secure variable. This ensures that no one can read the password you put in here.

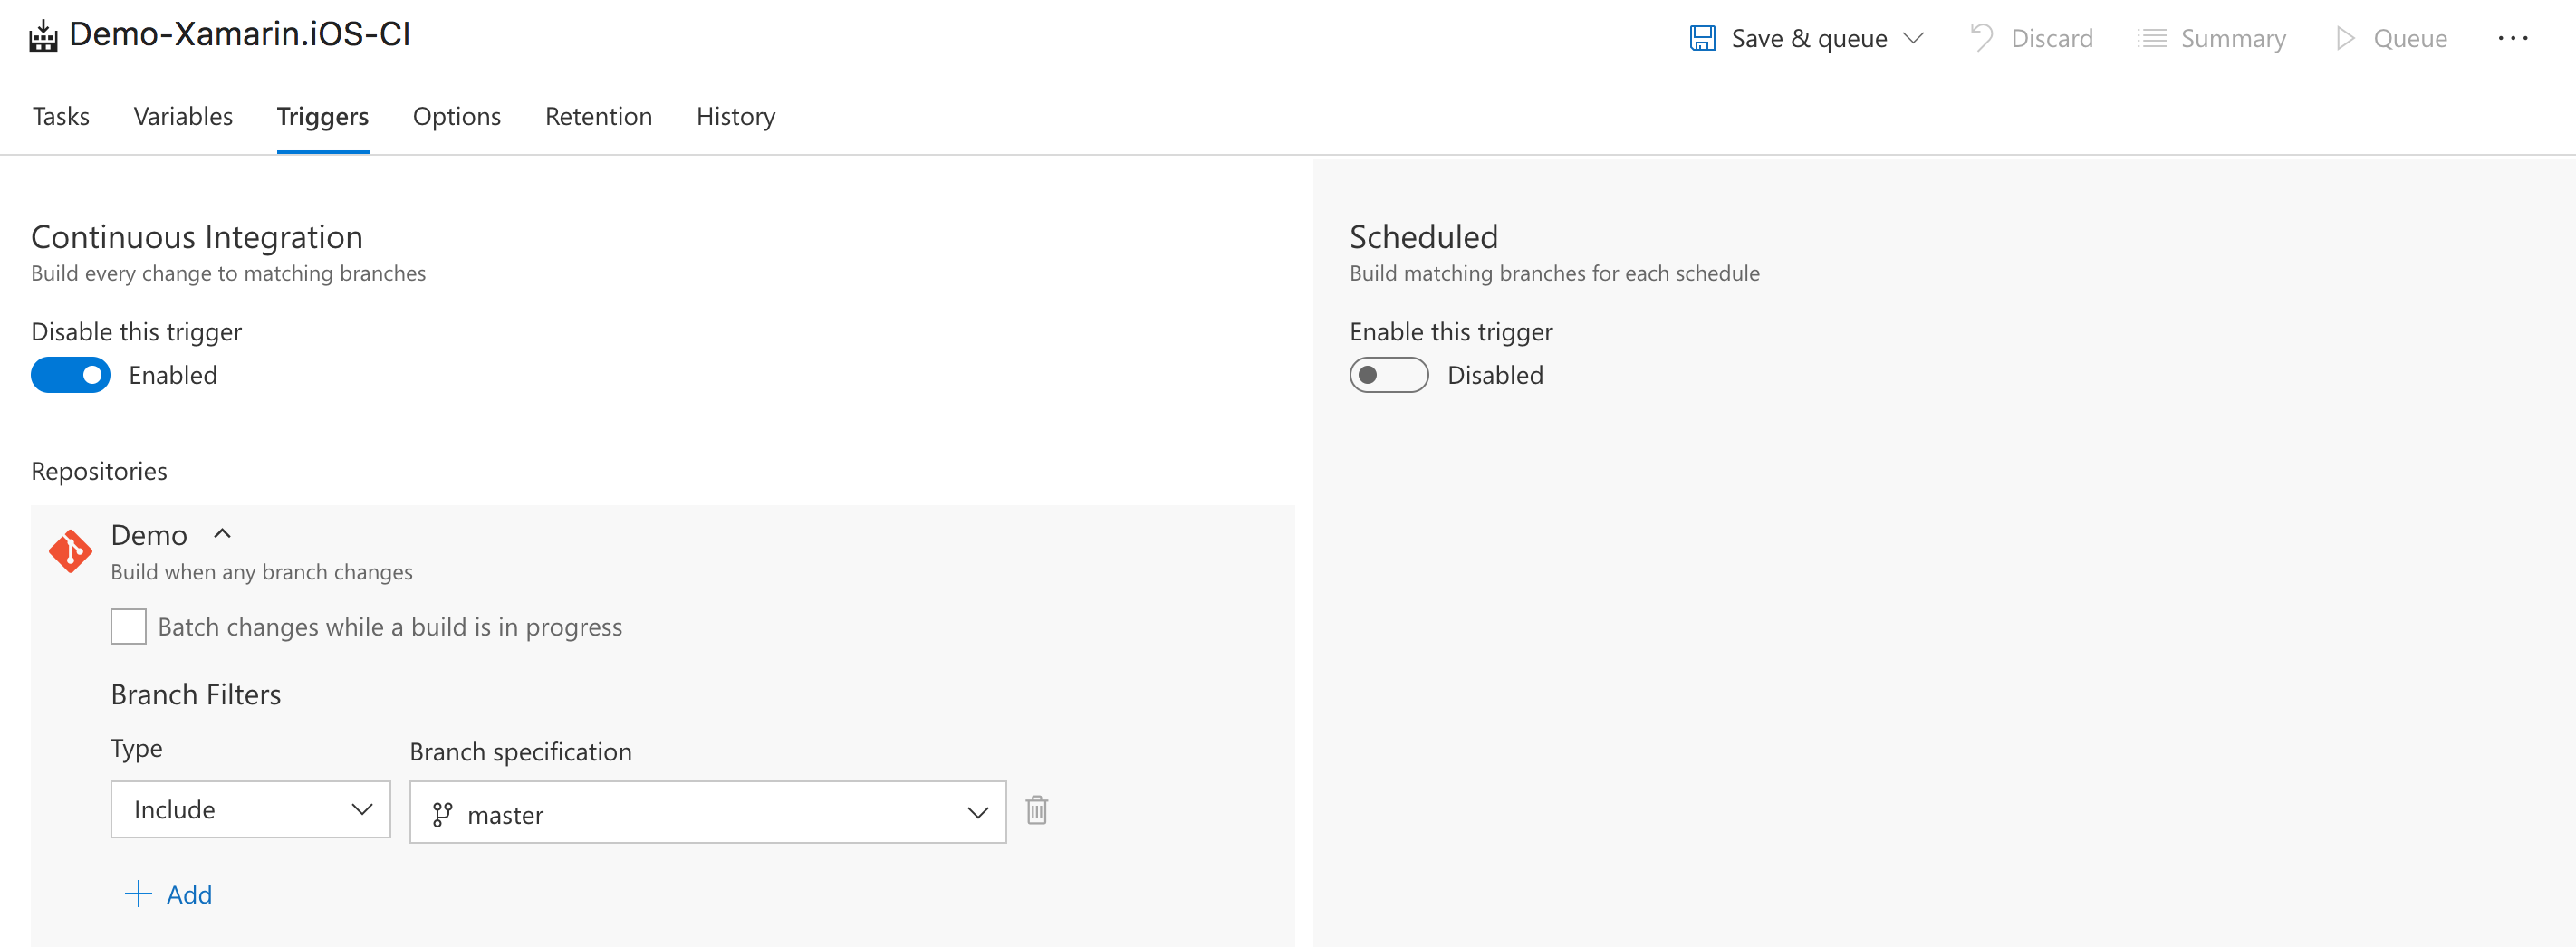
The build is now set up properly however it will not automatically trigger when you’re committing code. We need to set a trigger for that which is appropriately done in the Triggers tab. Enable Continuous Integration and set your Branch Filters and Path Filters appropriately. These filters define which branch to monitor for changes and tell VSTS to trigger a build as soon as changes to these remote branches happen. An alternative to Branch Filters are Path Filters which let you specify one or more specific paths in your project hierarchy to monitor. You can use both of these functions in conjunction with one another.
We need to do one more thing and that is set our Build Host. But we have already come to the conclusion in a previous post that the Hosted build host can’t build our iOS apps because it’s a Windows machine after all. So in our Options tab we set our Default agent queue to Default which makes the build definition use our own build host.

Conclusion
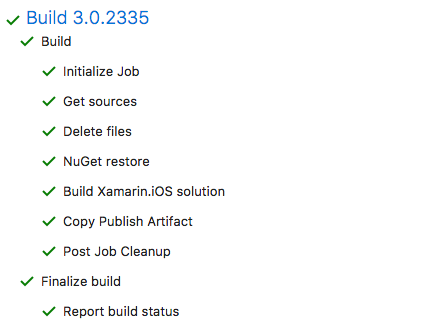
And there you have it. A Xamarin iOS automated build pipeline created in VSTS. Save your changes, queue a build or better yet perform a commit to see that all the triggers are firing as they should. And if all goes well your build will have nice green checkmarks next to all of its steps as shown below.
